in its sentimental value. He could have easily bought a used
one in better condition and saved some money. For starters,
there was over 100 differing sized holes to be welded, cracks
everywhere, bad cabmounts, and a lot of rust.
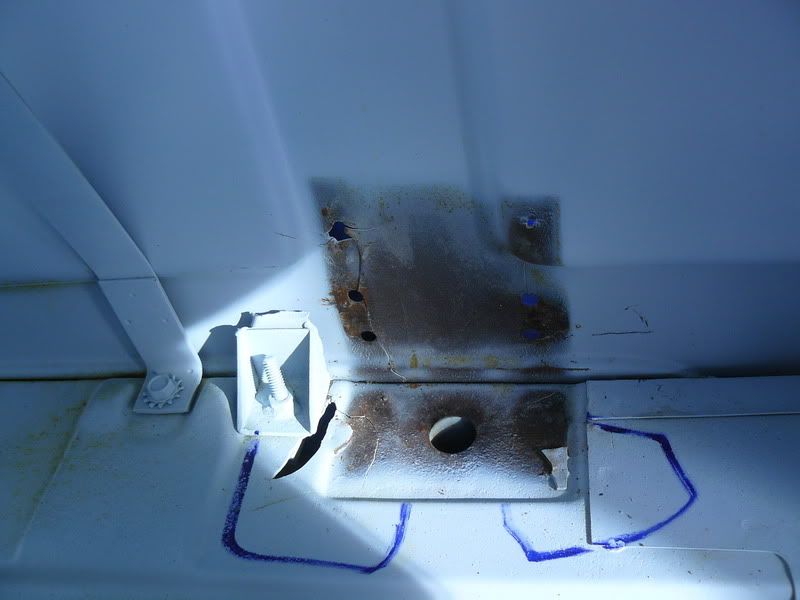
The repairs include, L/R outer & inner hinge pockets, L/R hinge
post patches, L/R inner & outer cab corners, L/R step rockers,
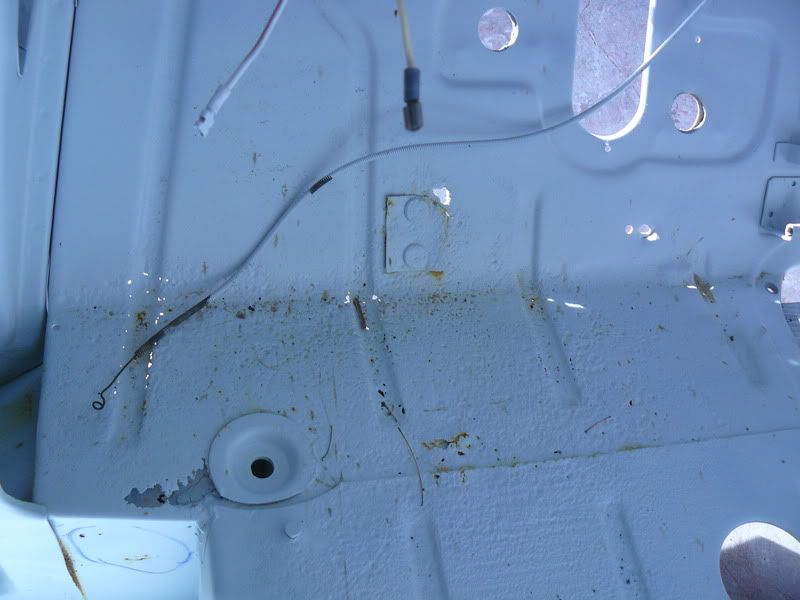
L floor pan, and patches everywhere!


Where do I start? I decided the holes & cracks. I counted
over 50 just inside the cab
over 50 just inside the cab


I then decided to knock this fender out of the way to get it out
of the way!


eye but a bugger to form. There was a fair share of patches
like these with anything but flat surfaces. Always a task,
always!

Then the patch panels came. These inner cab corners are a pain
to cut out and weld in due to location.

Then it was the R hinge pockets and hinge post patch.

Then I did the R cab corner & step. These cab corners
require a good technique for proper fit. After you
cut & scribe, flange it as shown and bend down the
flanged areas near the edges of the cab corner body
line to suck the patch closer for a more flush fit.


My hand tells me this will only need a tad of filler.
I like when my welds are able to disappear without
worrying about strength, and this time they didn't
because I didn't flange it good enough or perhaps I
didn't bend the entire flange area down just a tad.
After seeing how well it worked for the body line on
the cab corner I have a hunch doing it very lightly on
your flanged areas will lead to lowering your patch panel
so it's really flush with your metal. Then again maybe it's
the harbor freight tool. :) In any case, the boss is pleased
with it and so am I. Just looking to get better, that's all.

This side is done!

Since we didn't have a patch for this I decided to leave the
levour and make two patches around it since the metal is
good there . I'll finish the patch to the right of the levour
on Monday and focus on the L side of the cab.


TO BE CONTINUED...
No comments:
Post a Comment