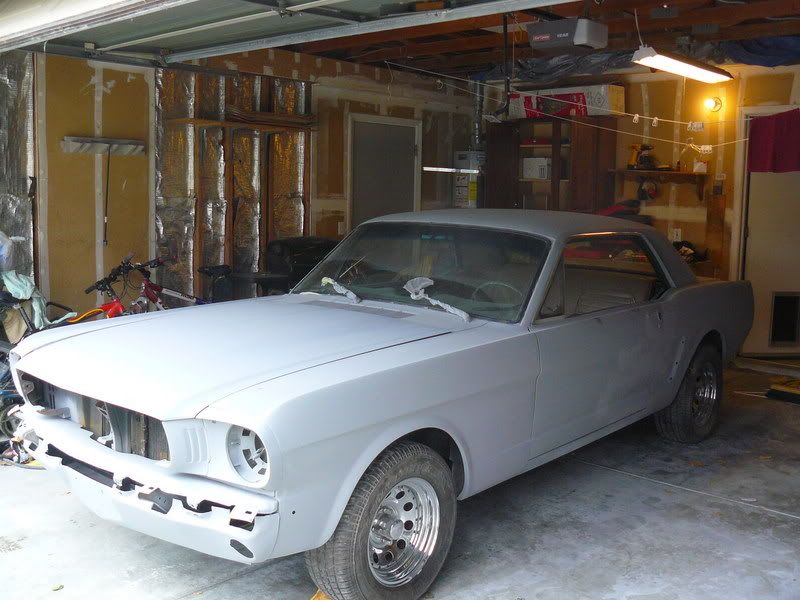
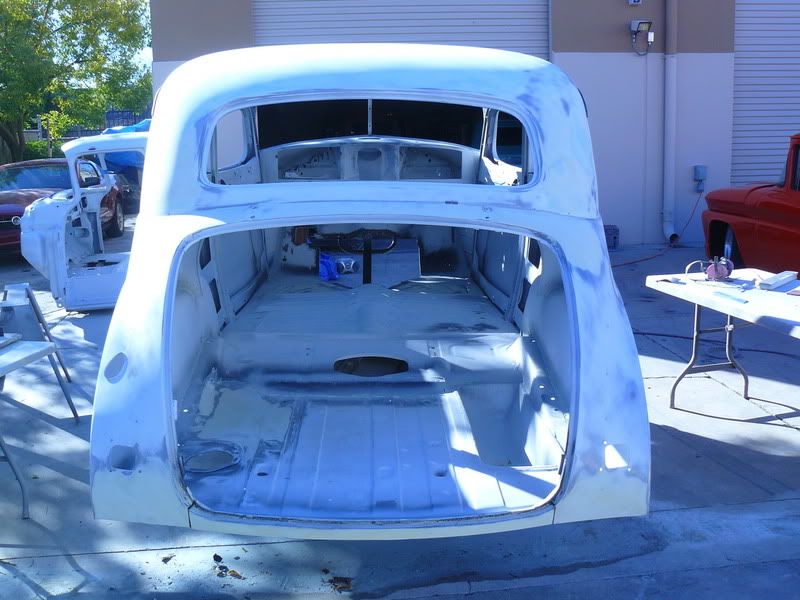
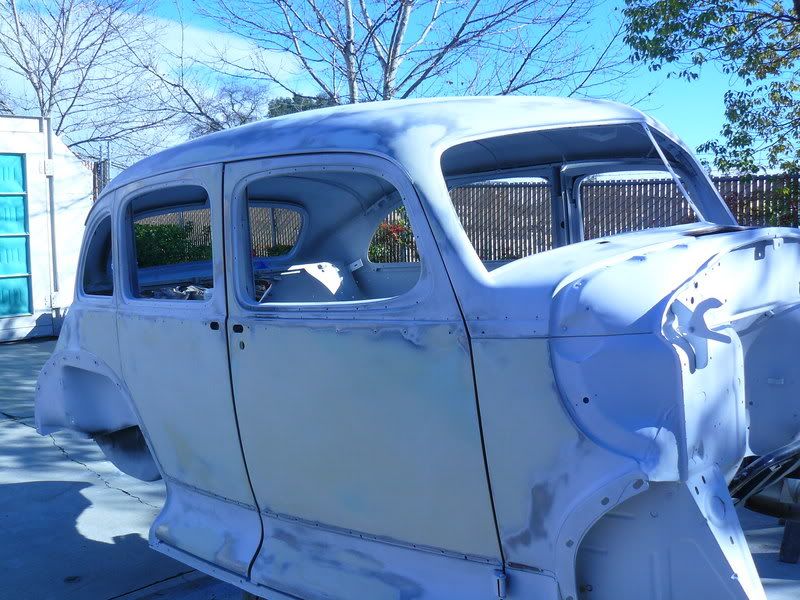
I got this inline 6 for some bodywork. Since I didn't
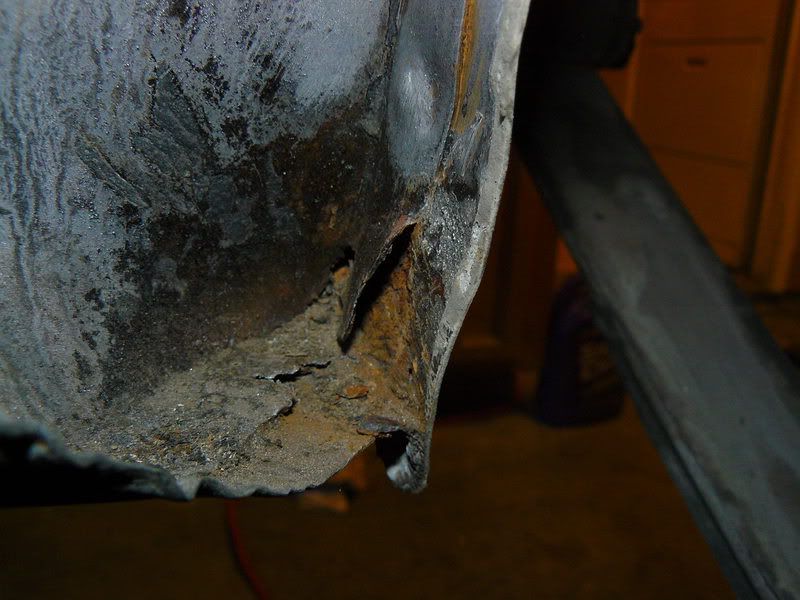
put any money into it I don't mind fixing the rust
and redoing some things. The owner had primered it
and did some bodywork but it was sprayed to dry and
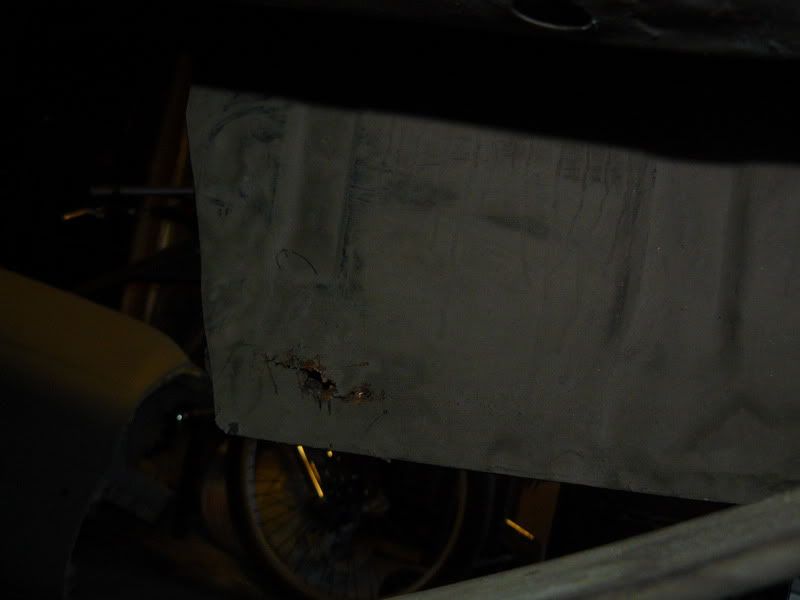
the bodywork, metal work, and hidden rust weren't
going to slip by.
Welcome to your new home...
Can't polish a turd so you flush it down the toilet!
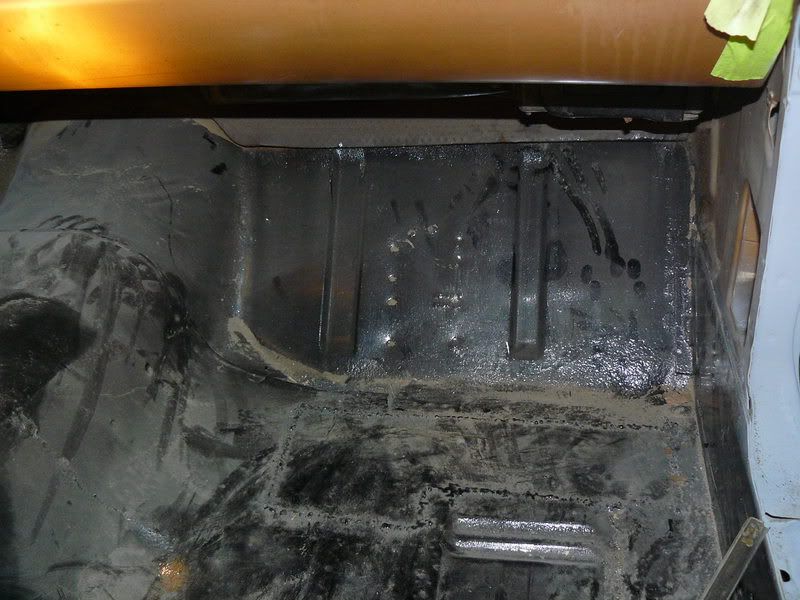
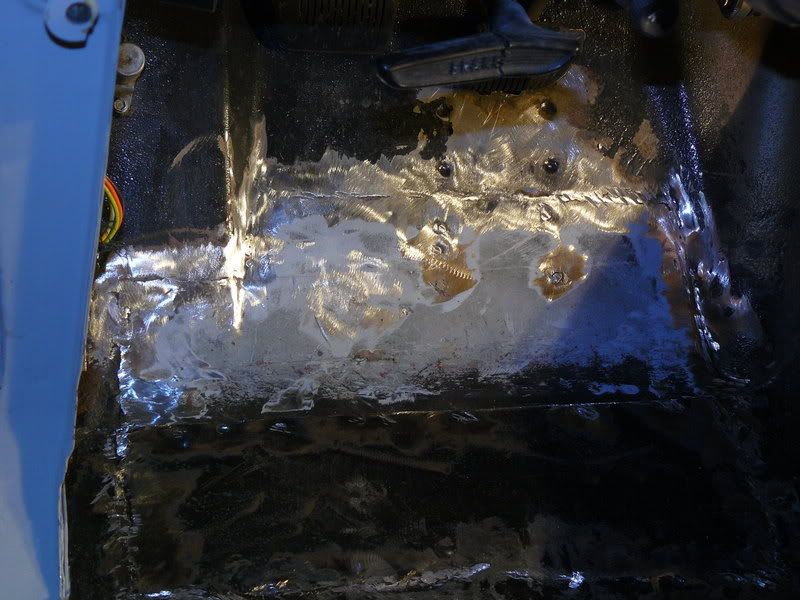
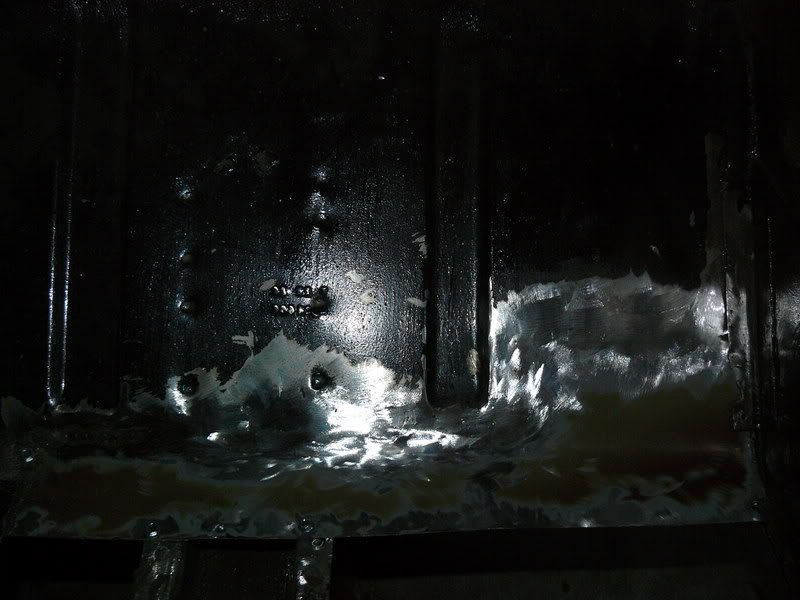
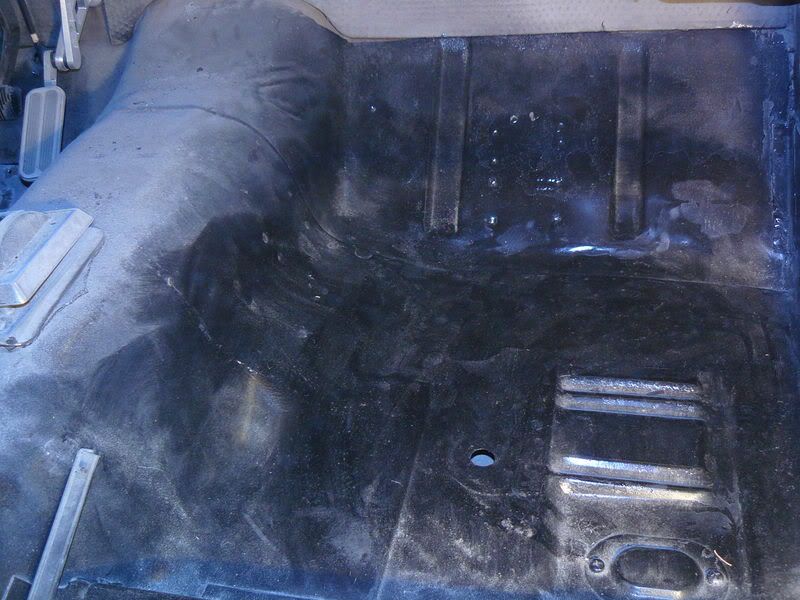
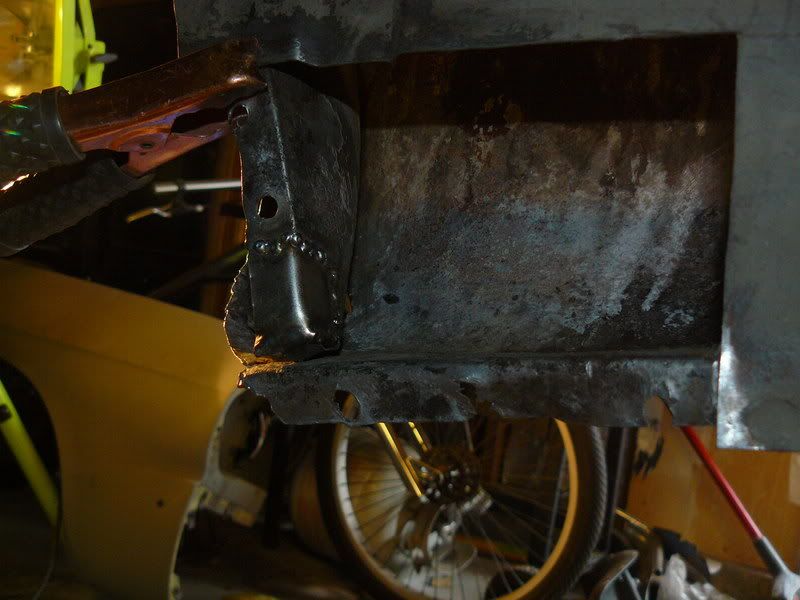
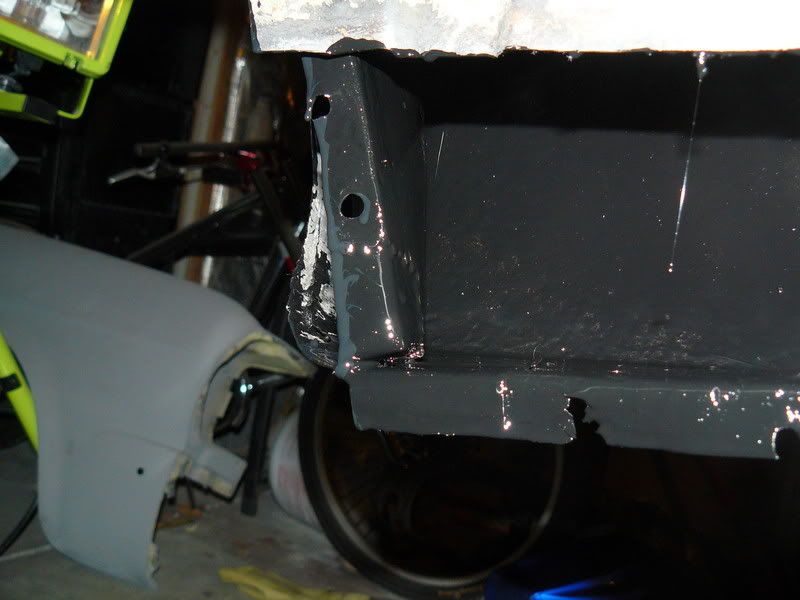
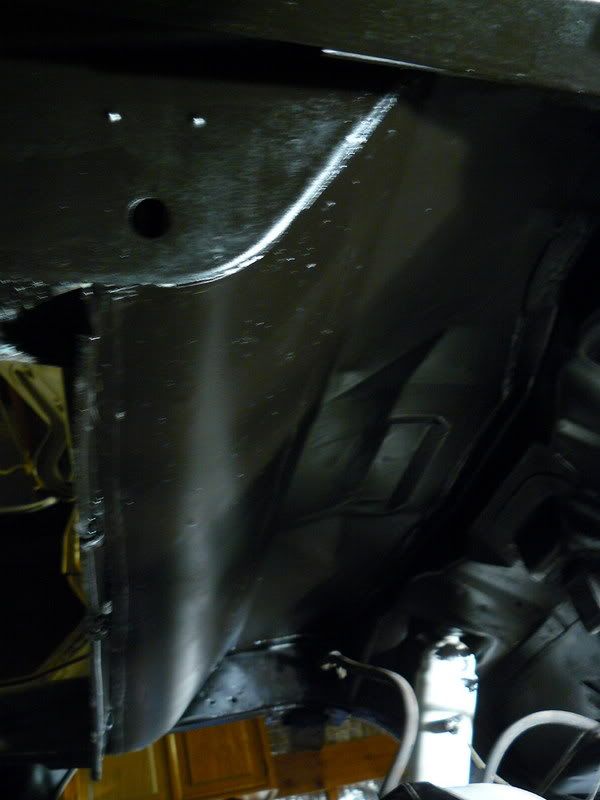
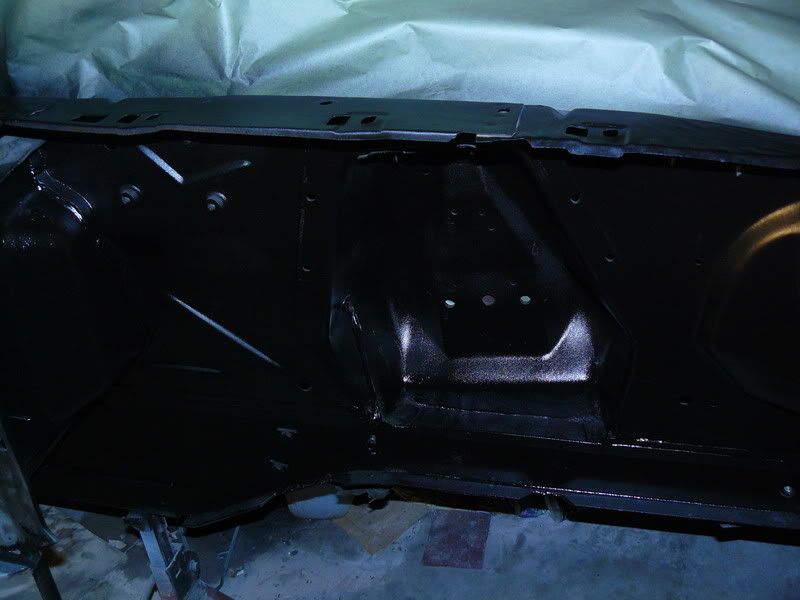
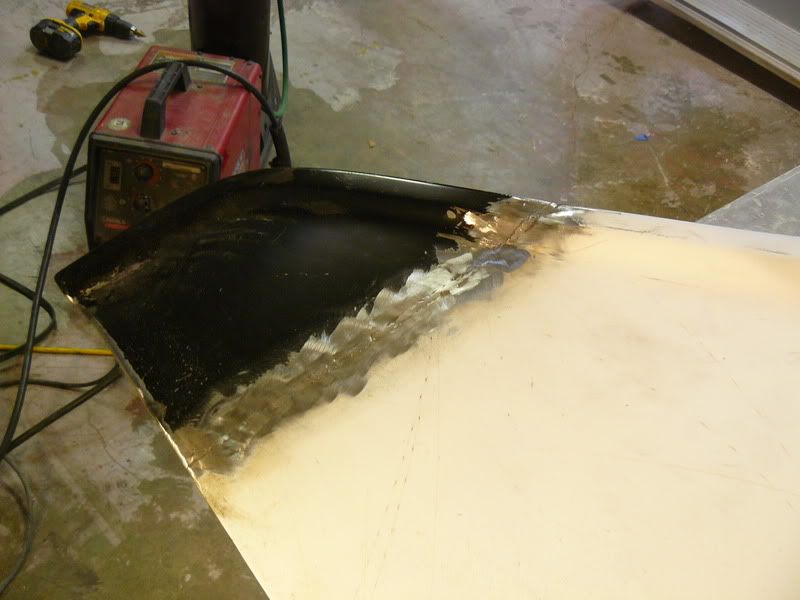
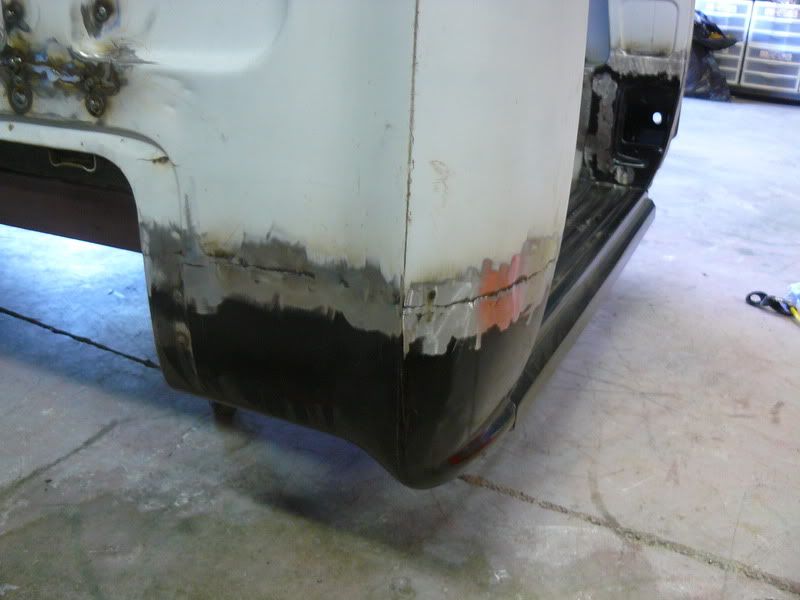
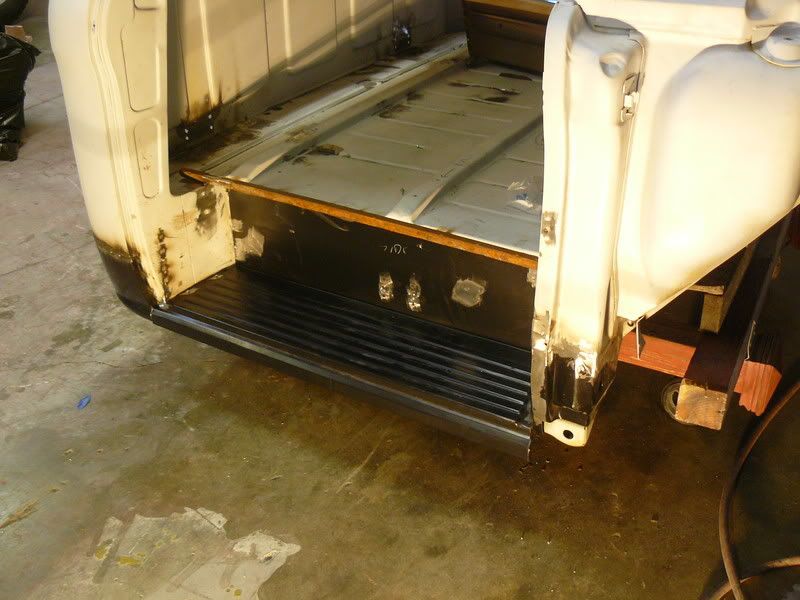
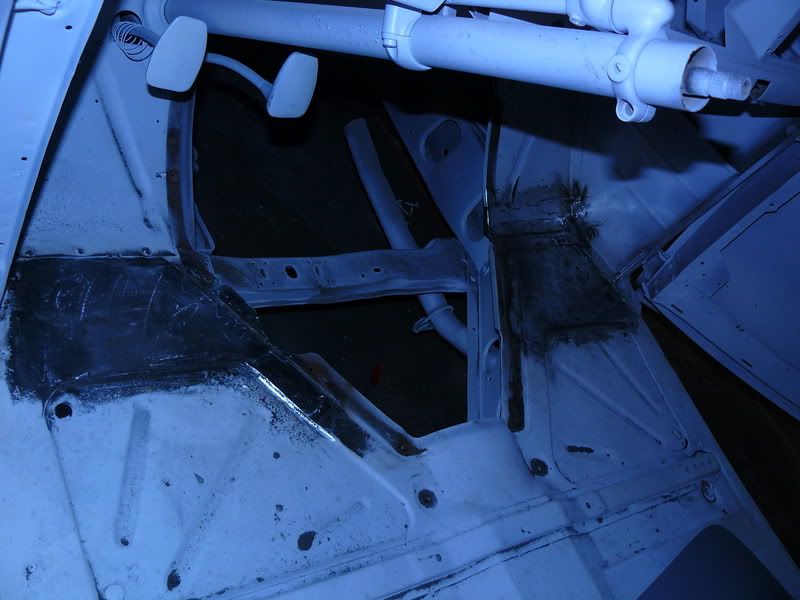
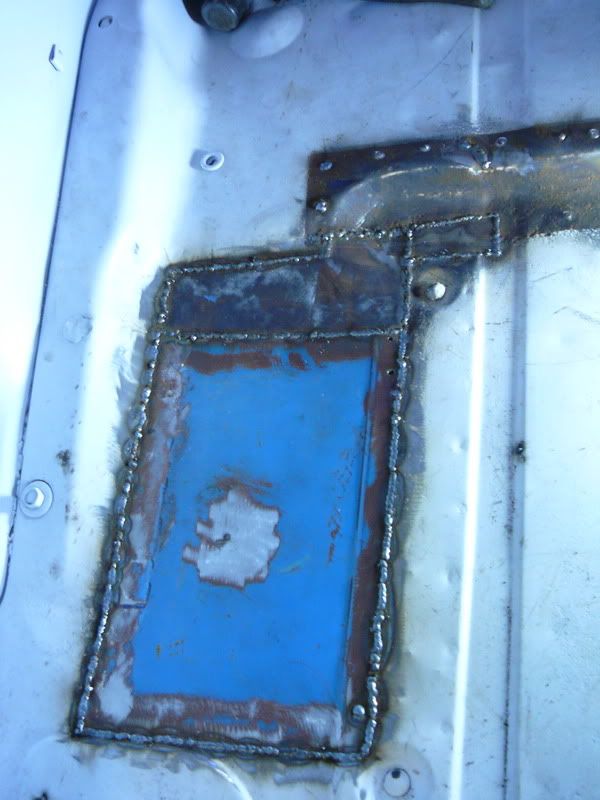
I used 16 gauge to give it good strength. Not exactly the
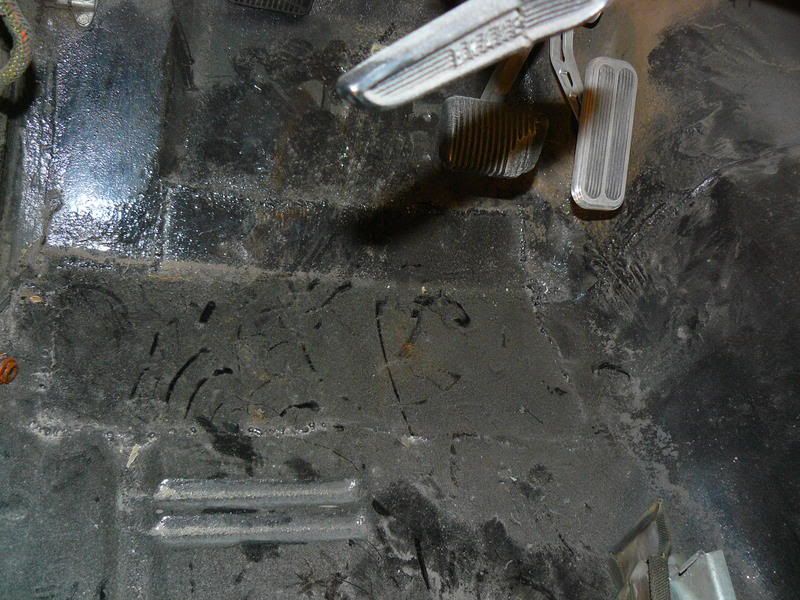
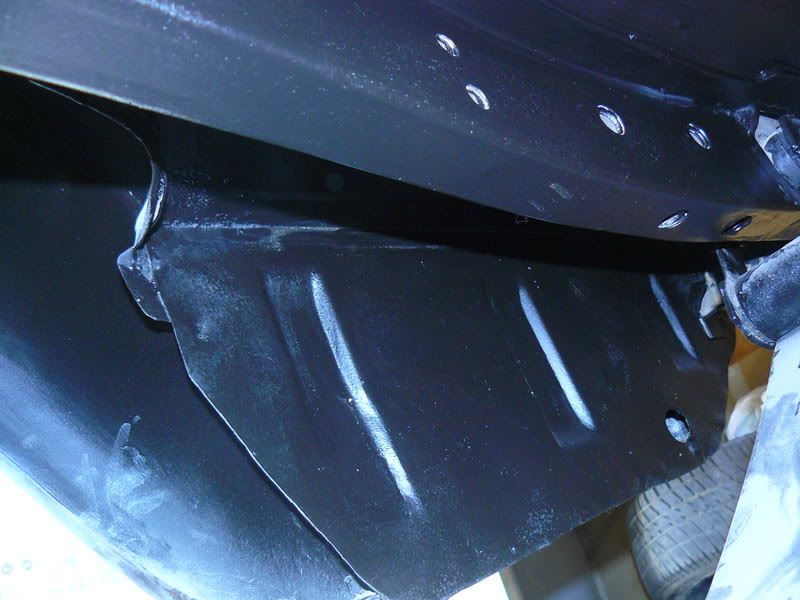
factory look but close. The black zero rust is temporary.
I just wanted to cover it up and somewhat match the
preexisting por 15. In the end I will go over the entire
floor and trunk area with white zero rust.
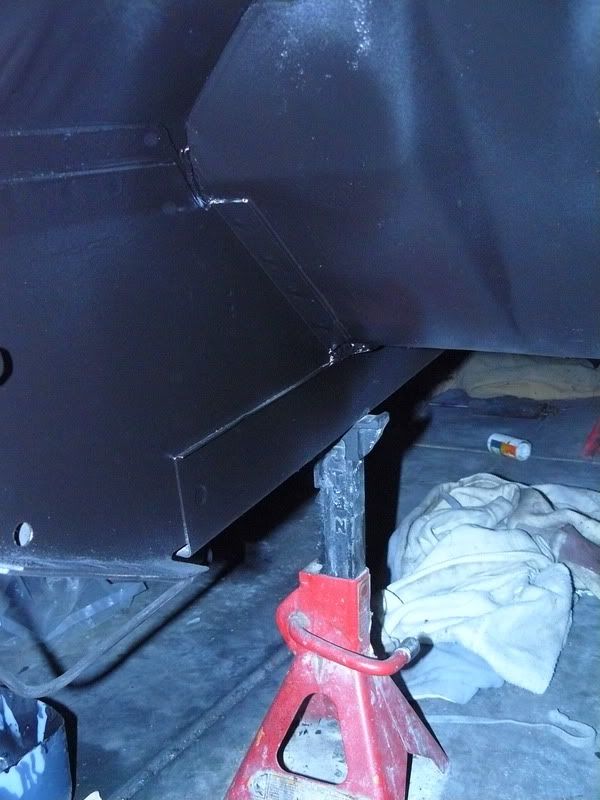
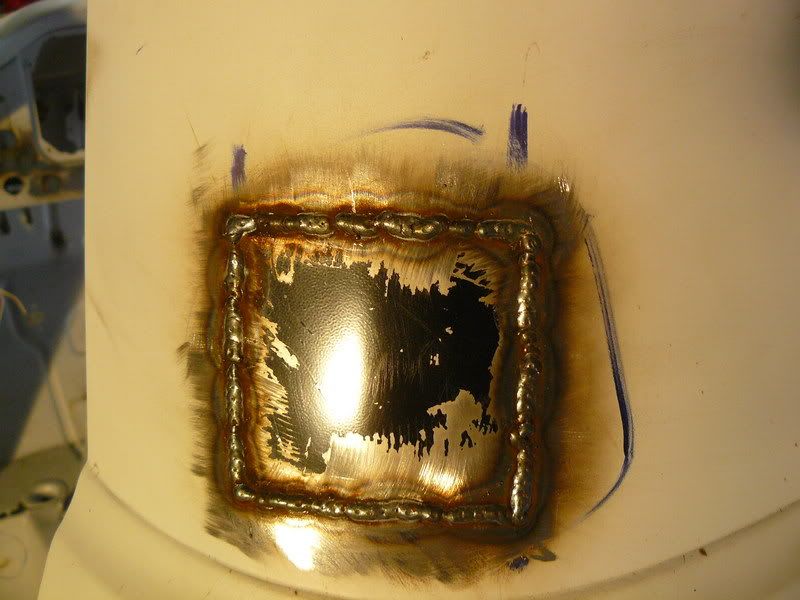
Undetectable from the backside. Just the way I like it.
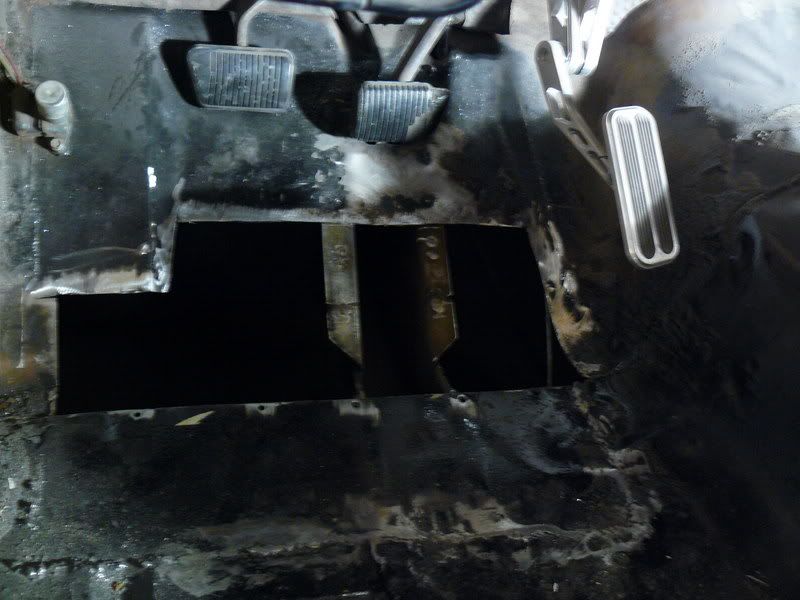
Now the passenger side.
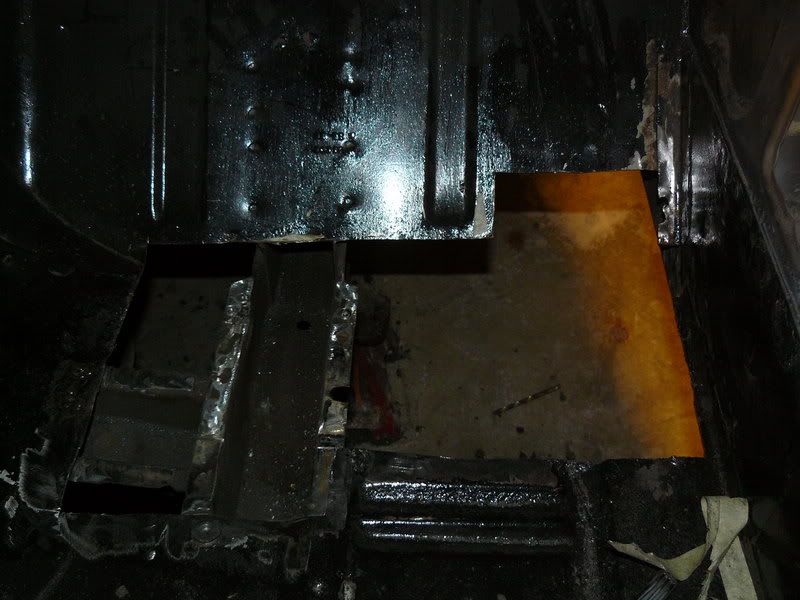
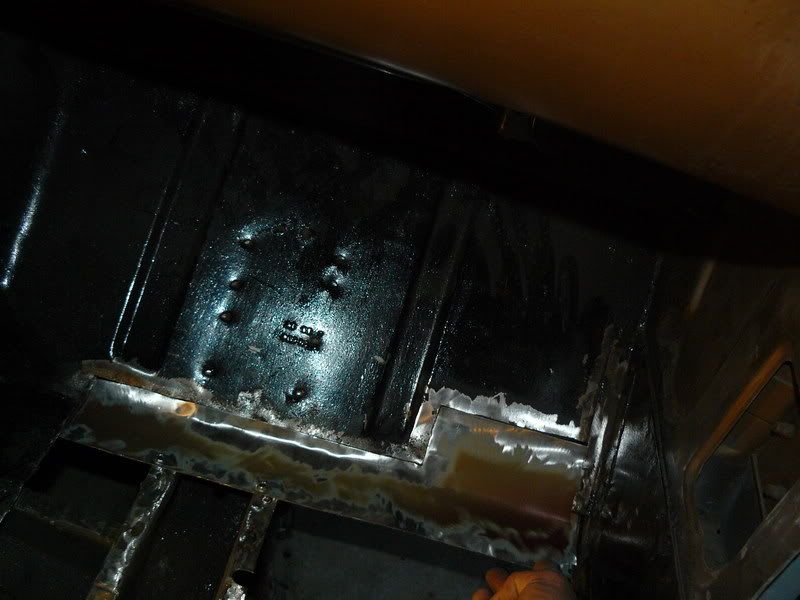
These must be done in sections. I started with the top
section first.
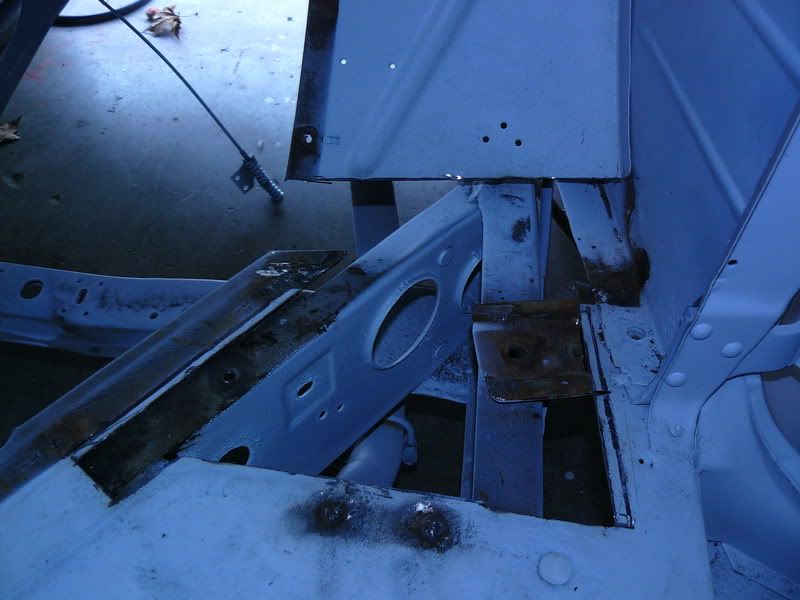
There's nowhere to hide!
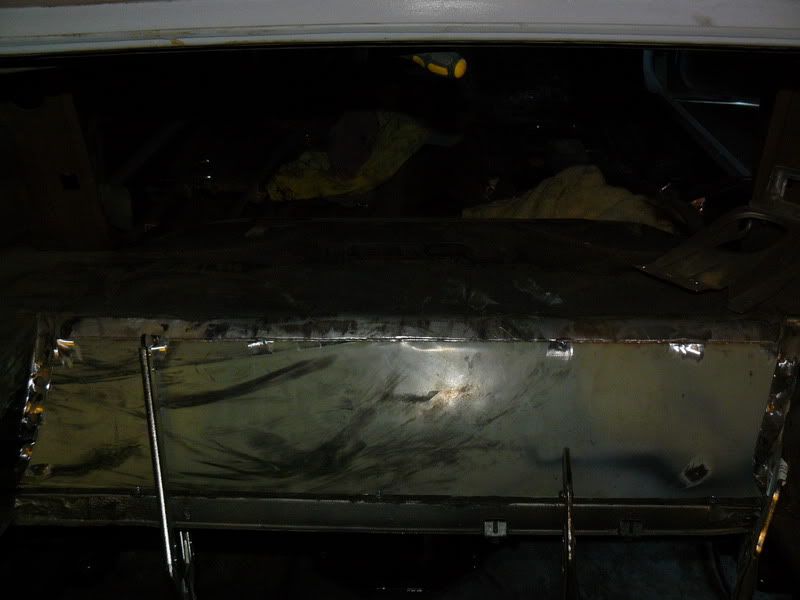
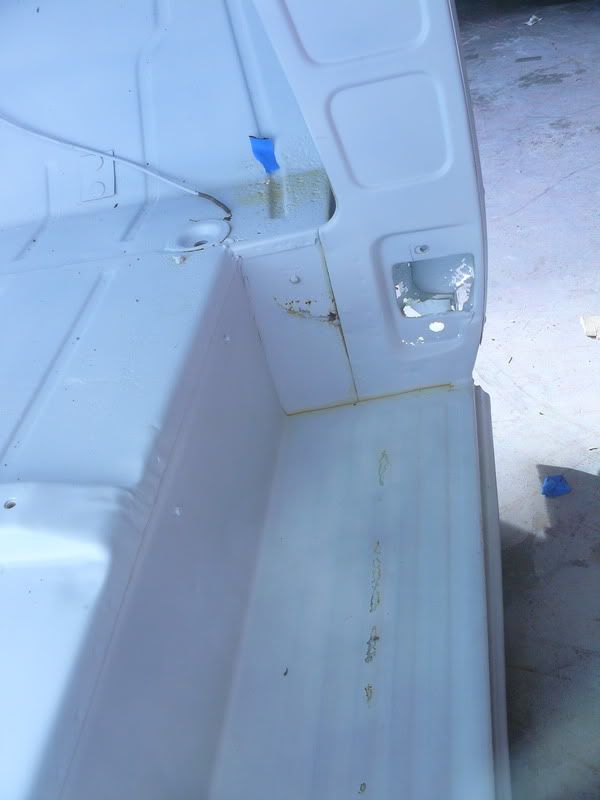
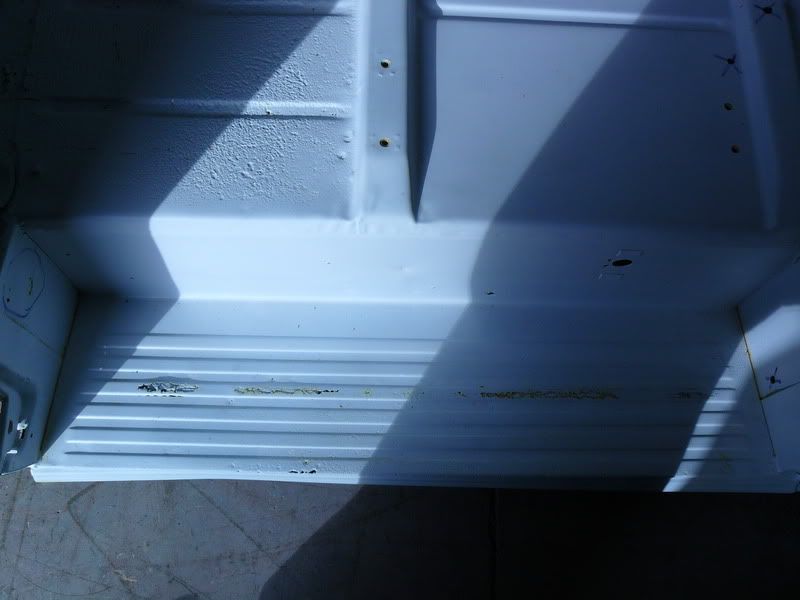
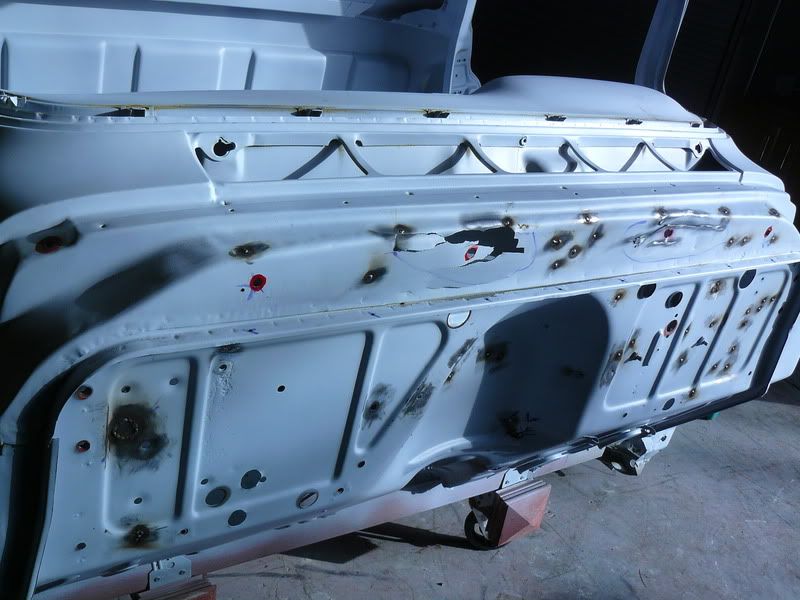
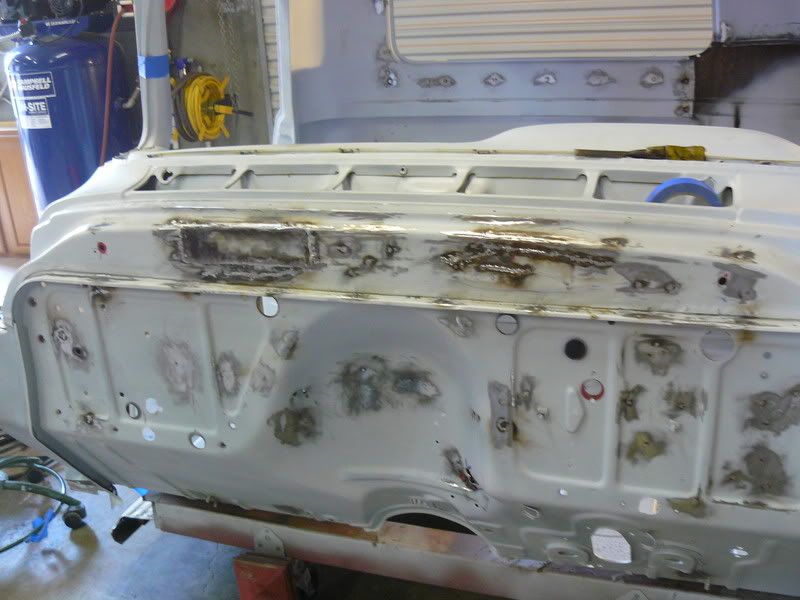
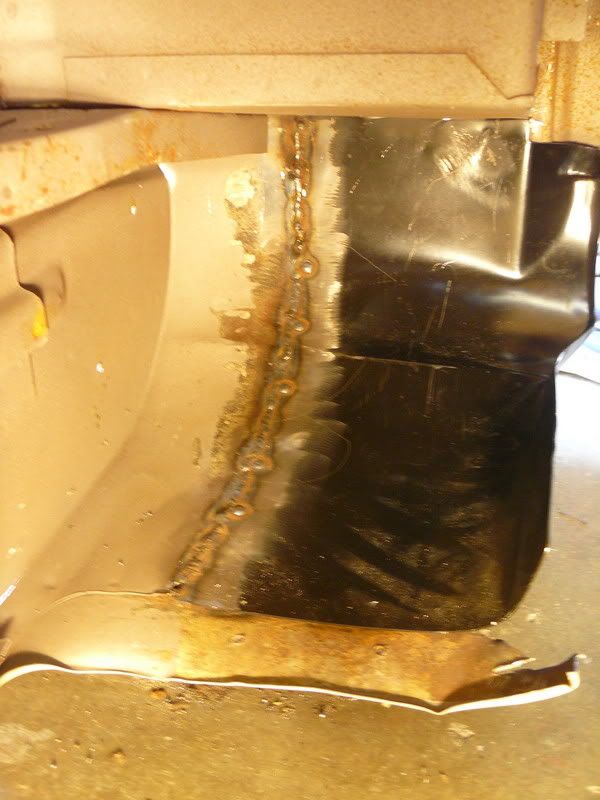
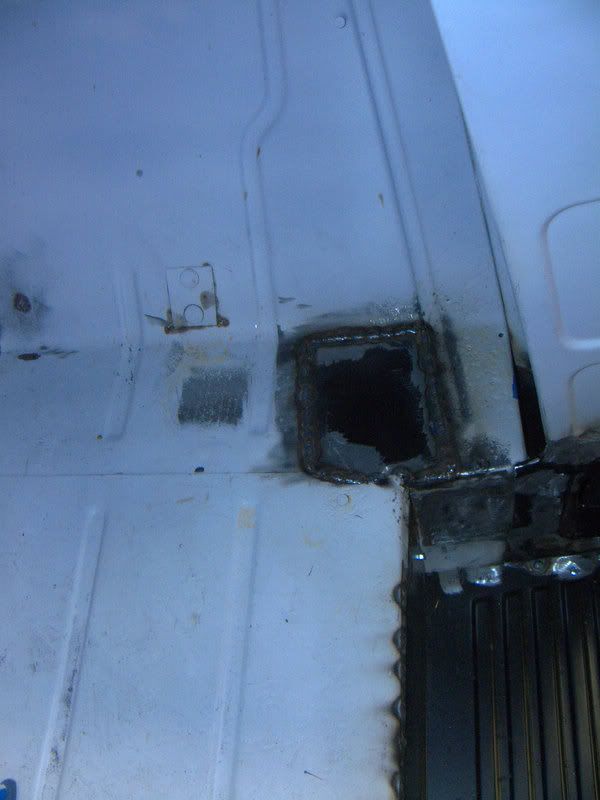
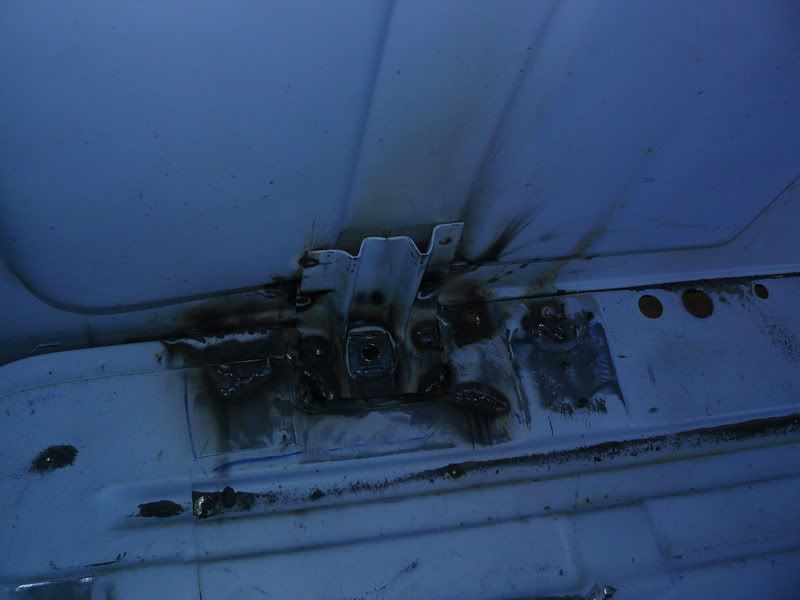
Trunk floor pan
Welded in and seam sealed.
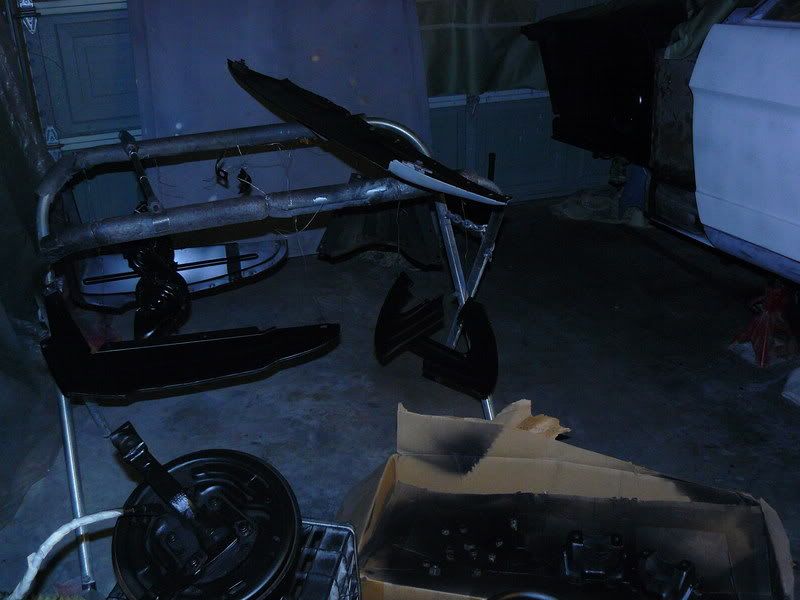
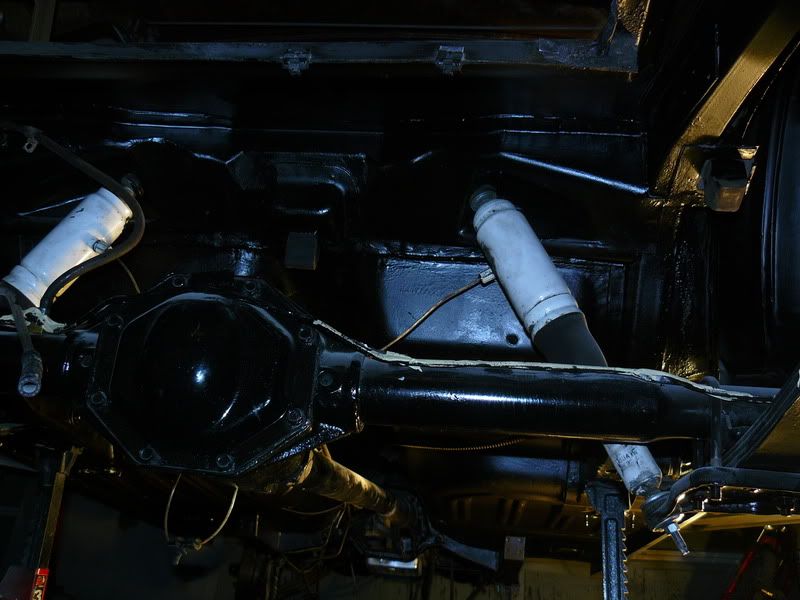
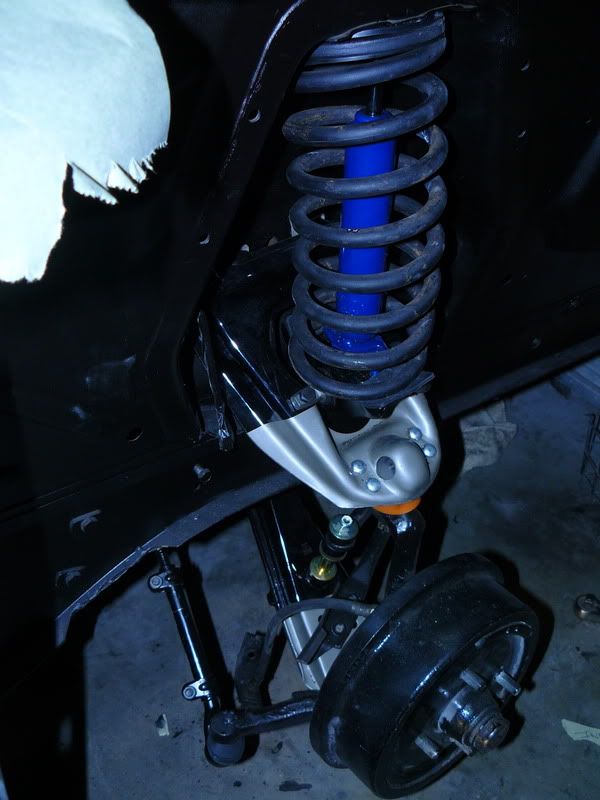
Time for Zero Rusting the underside, wheel wells, fender wells,
fender insides, suspension parts, and nuts and bolts.
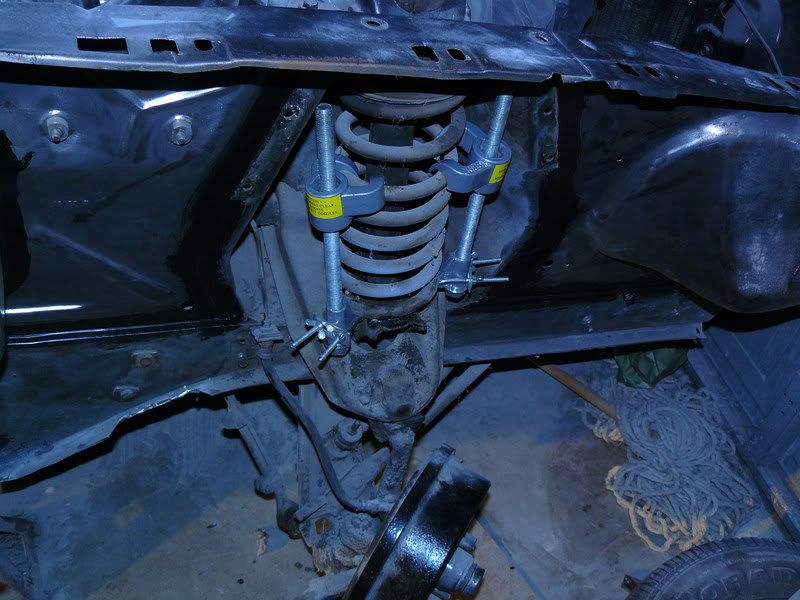
Front Suspension Rebuild. These Spring Compressors didn't get
the job done so I borrowed some internal ones.
Looking good!
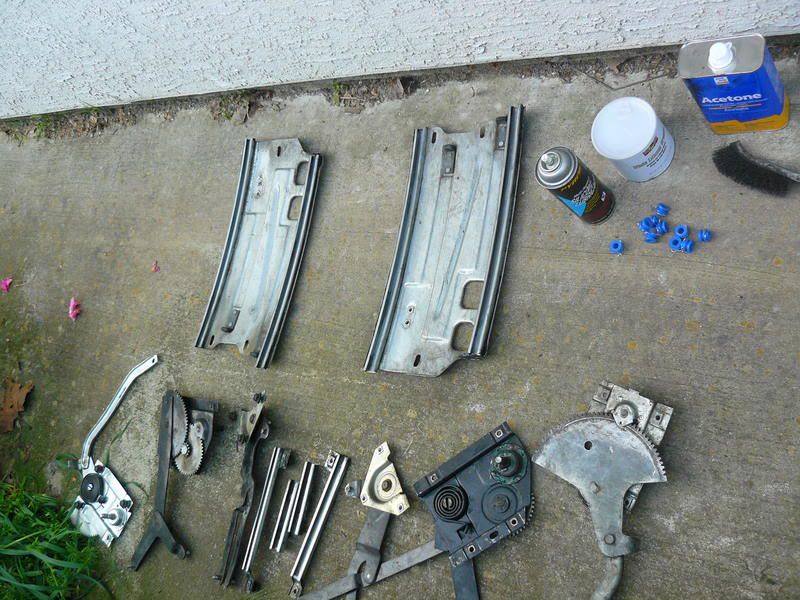
New rollers, cleaned, and greased!
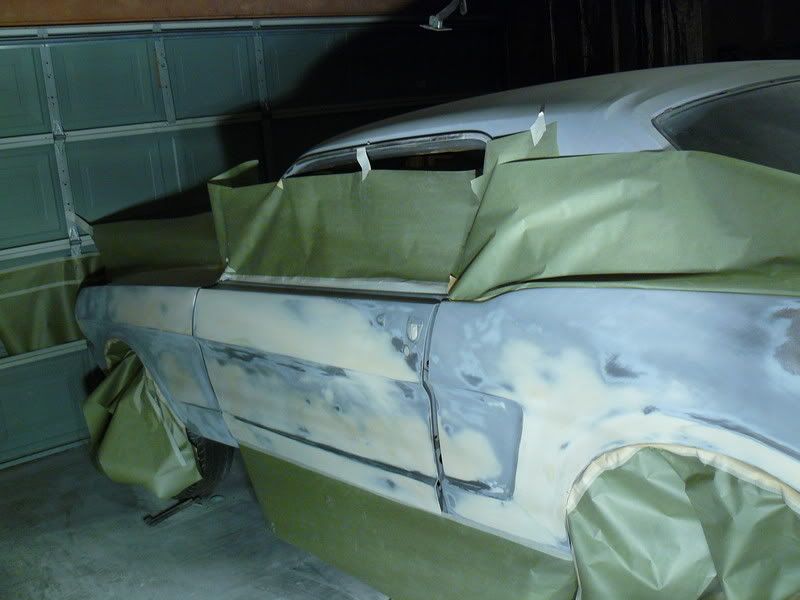
Bodywork
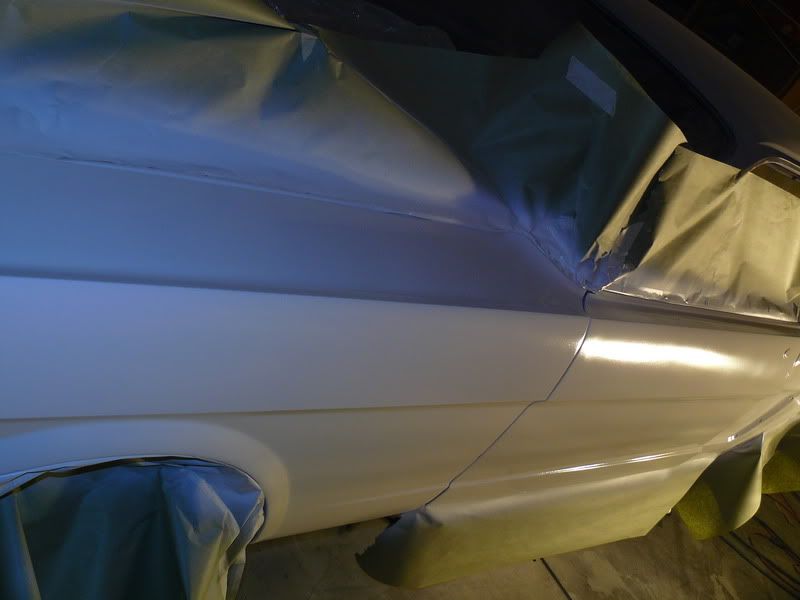
White PLC High build Poly Primer.
Project Metal
Saturday, March 12, 2011
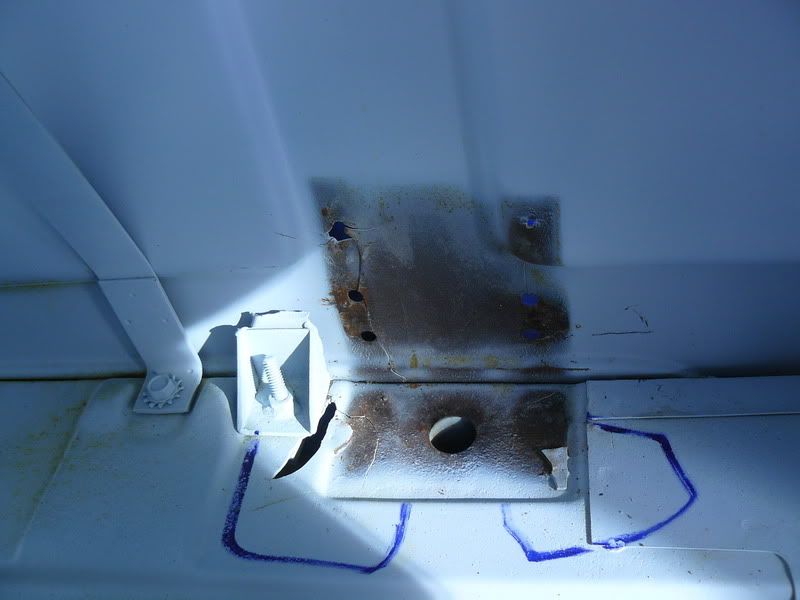
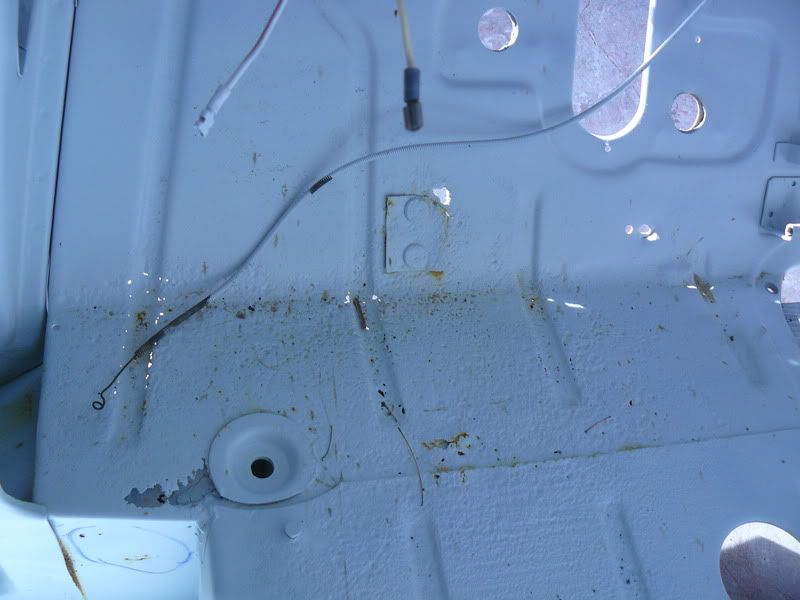
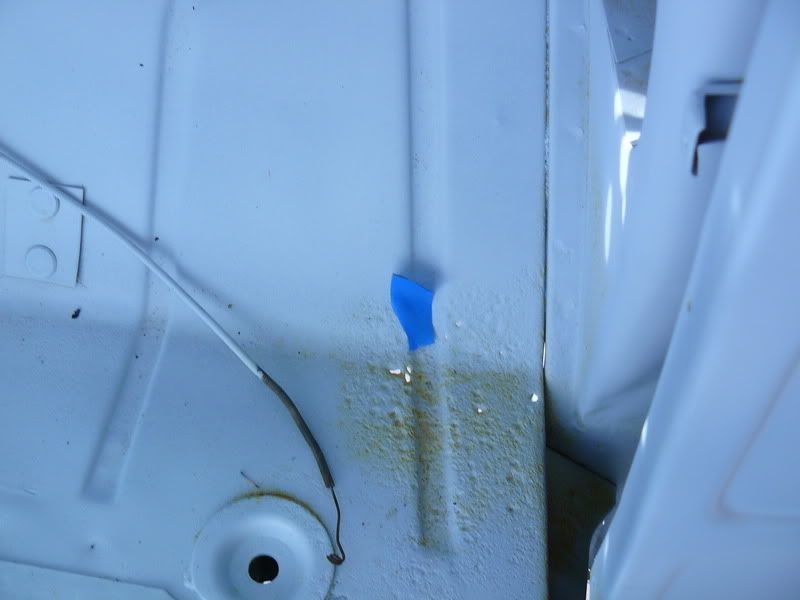
Rotted Cab Corners
The only Logical explanation for a guy to repair this cab lies
in its sentimental value. He could have easily bought a used
one in better condition and saved some money. For starters,
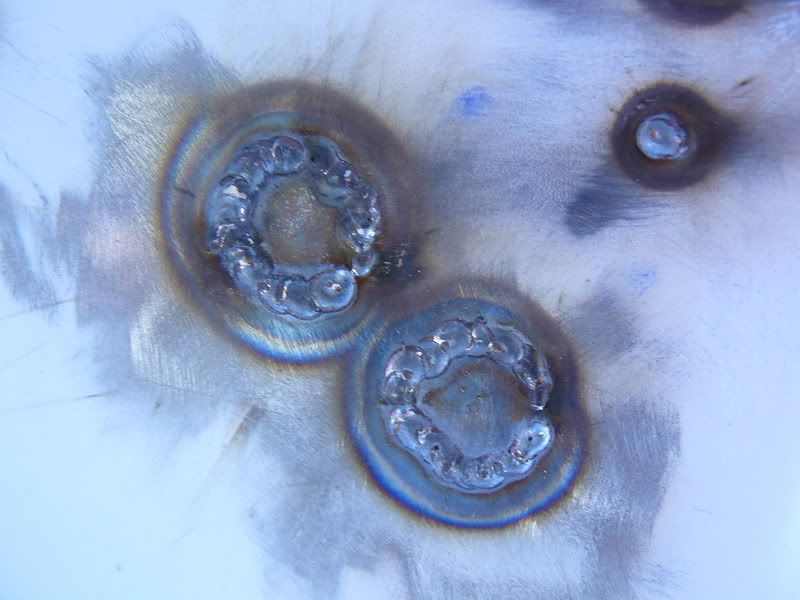
there was over 100 differing sized holes to be welded, cracks
everywhere, bad cabmounts, and a lot of rust.
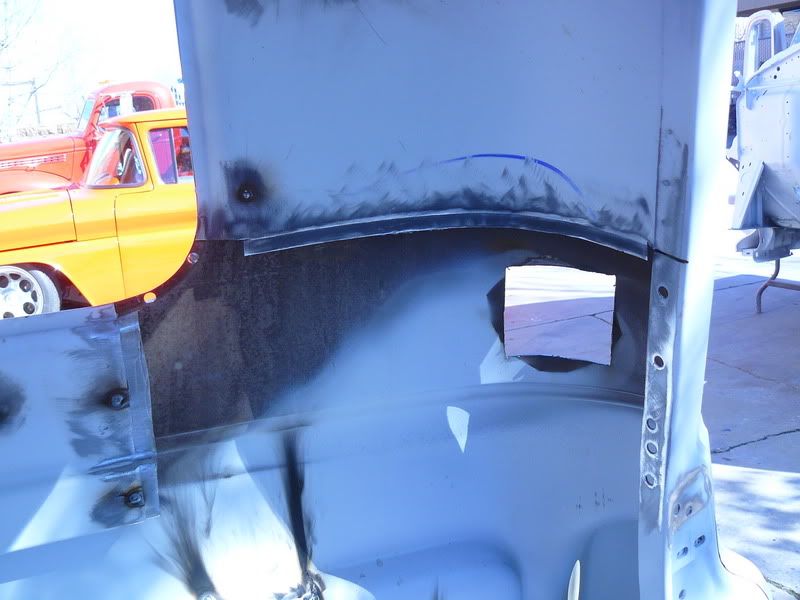
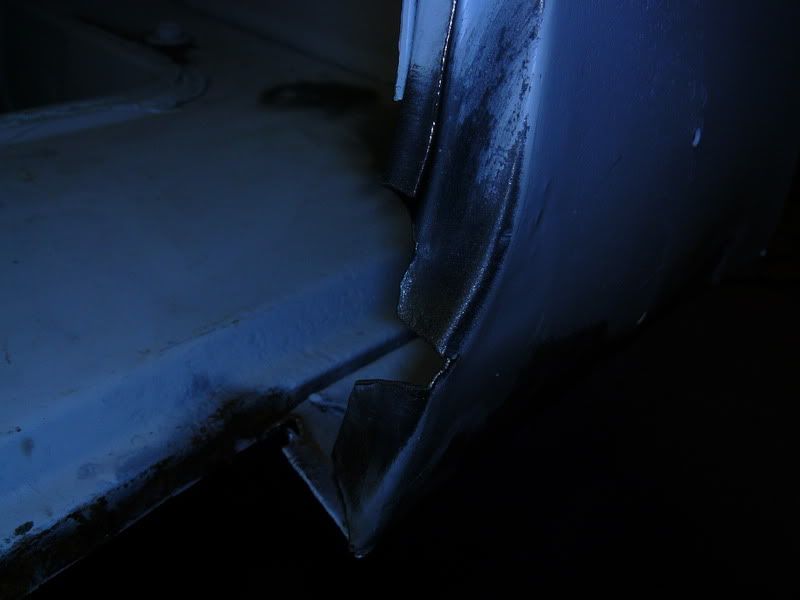
The repairs include, L/R outer & inner hinge pockets, L/R hinge
post patches, L/R inner & outer cab corners, L/R step rockers,
L floor pan, and patches everywhere!
I then decided to knock this fender out of the way to get it out
of the way!
Then it was odd little patches that look easy from the naked
eye but a bugger to form. There was a fair share of patches
like these with anything but flat surfaces. Always a task,
always!
Then the patch panels came. These inner cab corners are a pain
to cut out and weld in due to location.
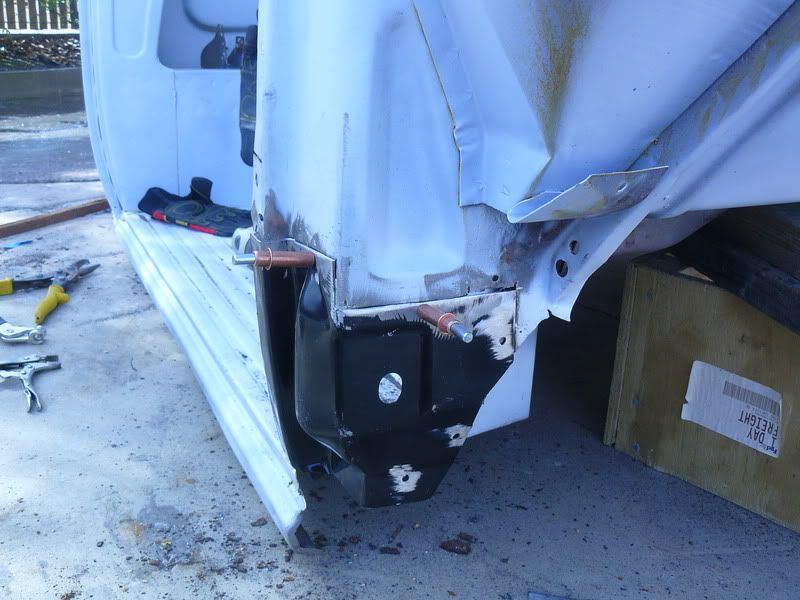
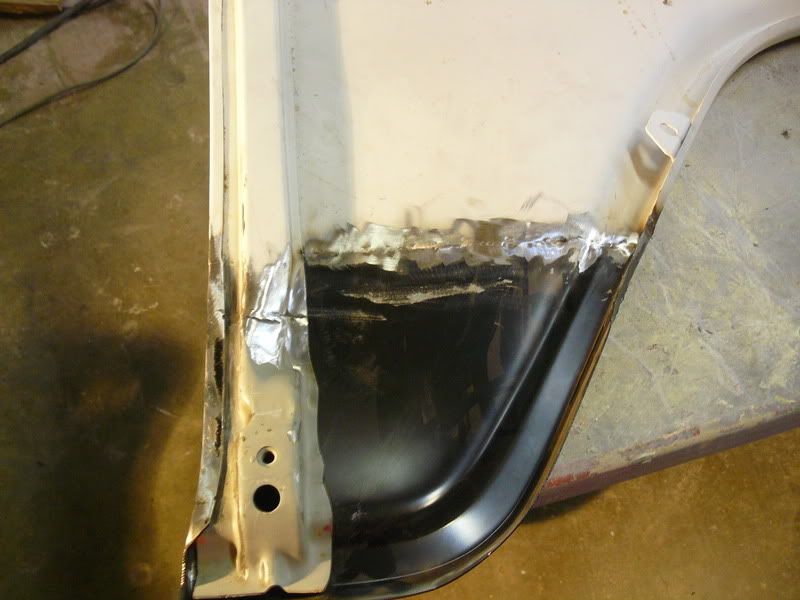
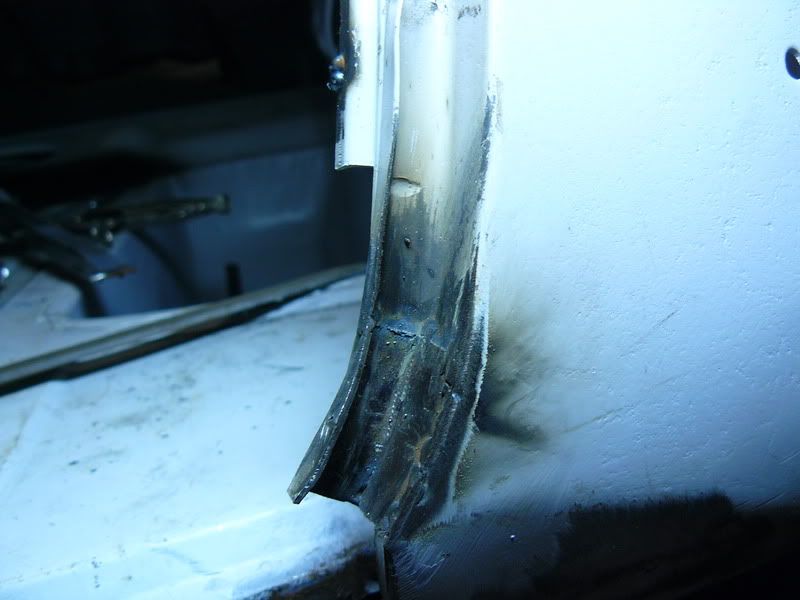
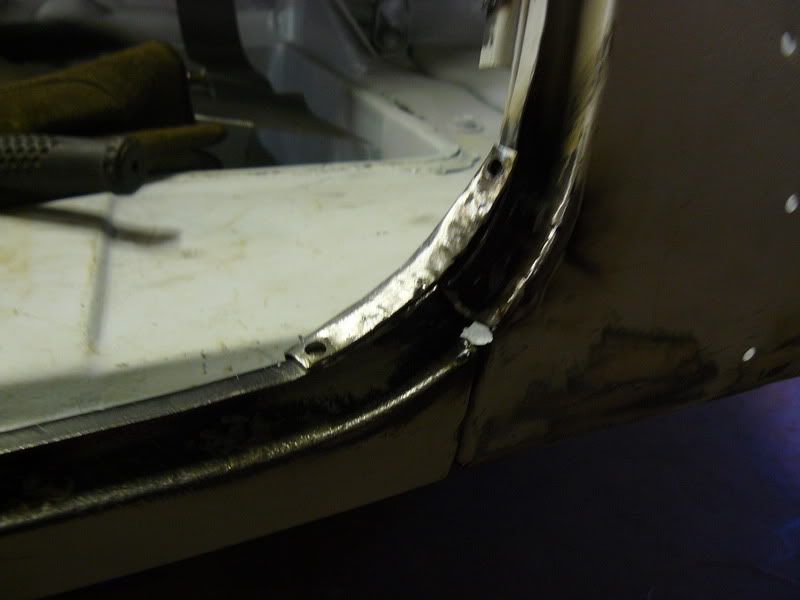
Then I did the R cab corner & step. These cab corners
require a good technique for proper fit. After you
cut & scribe, flange it as shown and bend down the
flanged areas near the edges of the cab corner body
line to suck the patch closer for a more flush fit.
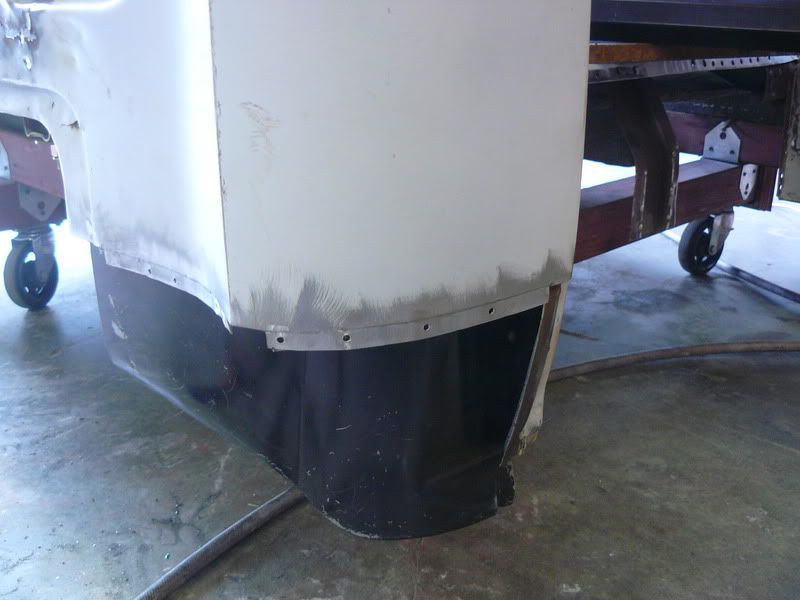
My hand tells me this will only need a tad of filler.
I like when my welds are able to disappear without
worrying about strength, and this time they didn't
because I didn't flange it good enough or perhaps I
didn't bend the entire flange area down just a tad.
After seeing how well it worked for the body line on
the cab corner I have a hunch doing it very lightly on
your flanged areas will lead to lowering your patch panel
so it's really flush with your metal. Then again maybe it's
the harbor freight tool. :) In any case, the boss is pleased
with it and so am I. Just looking to get better, that's all.
This side is done!
Since we didn't have a patch for this I decided to leave the
levour and make two patches around it since the metal is
good there . I'll finish the patch to the right of the levour
on Monday and focus on the L side of the cab.
These look like Frankenstein at the moment. Strength is the key here.
in its sentimental value. He could have easily bought a used
one in better condition and saved some money. For starters,
there was over 100 differing sized holes to be welded, cracks
everywhere, bad cabmounts, and a lot of rust.
The repairs include, L/R outer & inner hinge pockets, L/R hinge
post patches, L/R inner & outer cab corners, L/R step rockers,
L floor pan, and patches everywhere!


Where do I start? I decided the holes & cracks. I counted
over 50 just inside the cab
over 50 just inside the cab
I then decided to knock this fender out of the way to get it out
of the way!
Then it was odd little patches that look easy from the naked
eye but a bugger to form. There was a fair share of patches
like these with anything but flat surfaces. Always a task,
always!
Then the patch panels came. These inner cab corners are a pain
to cut out and weld in due to location.

Then I did the R cab corner & step. These cab corners
require a good technique for proper fit. After you
cut & scribe, flange it as shown and bend down the
flanged areas near the edges of the cab corner body
line to suck the patch closer for a more flush fit.

My hand tells me this will only need a tad of filler.
I like when my welds are able to disappear without
worrying about strength, and this time they didn't
because I didn't flange it good enough or perhaps I
didn't bend the entire flange area down just a tad.
After seeing how well it worked for the body line on
the cab corner I have a hunch doing it very lightly on
your flanged areas will lead to lowering your patch panel
so it's really flush with your metal. Then again maybe it's
the harbor freight tool. :) In any case, the boss is pleased
with it and so am I. Just looking to get better, that's all.
This side is done!
Since we didn't have a patch for this I decided to leave the
levour and make two patches around it since the metal is
good there . I'll finish the patch to the right of the levour
on Monday and focus on the L side of the cab.
These look like Frankenstein at the moment. Strength is the key here.
Friday, March 11, 2011
Hudson Metal Fab
This old fart was in good age for it's condition, or it good
condition for it's age? Every patch had to be hand fabricated
as patch panels don't exist for this beast.
condition for it's age? Every patch had to be hand fabricated
as patch panels don't exist for this beast.
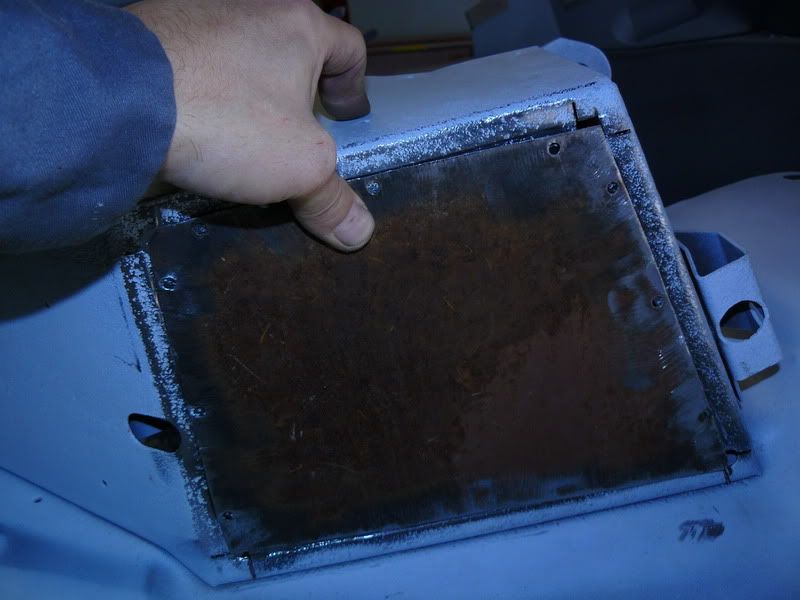
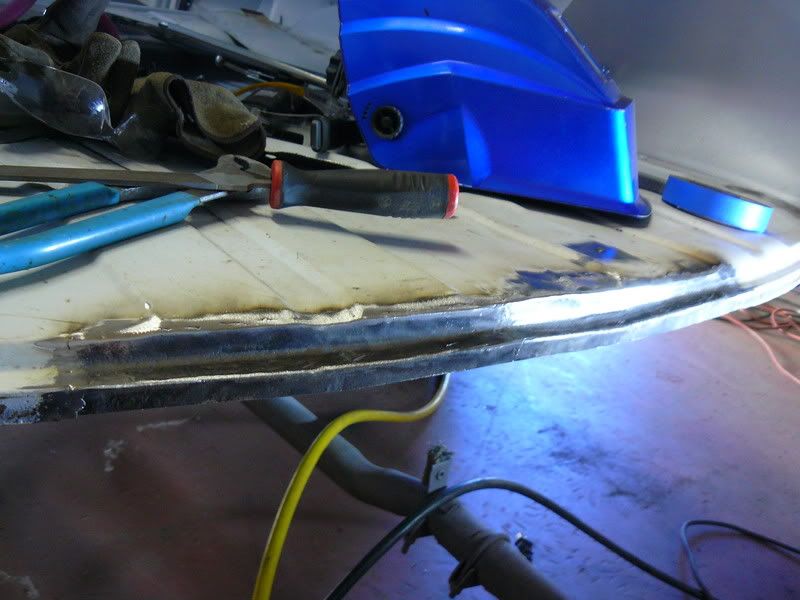
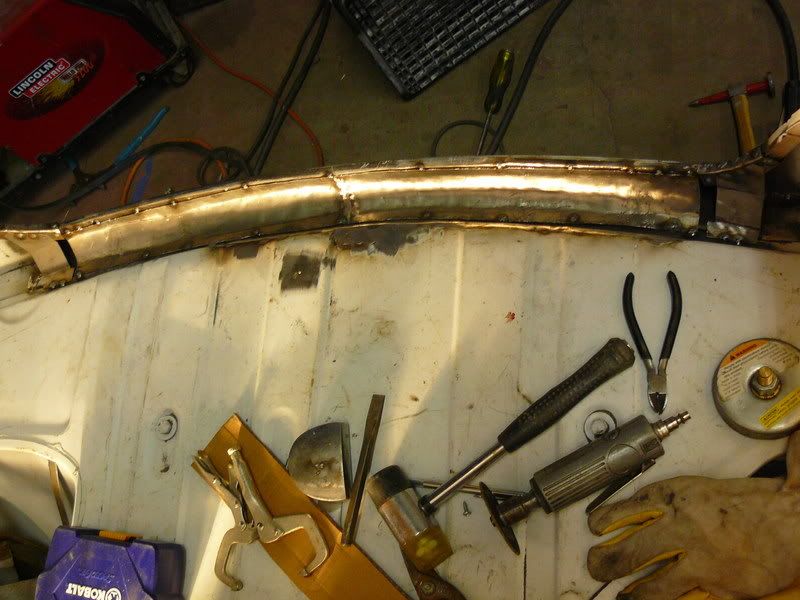
I decided to flange the battery tray to give it more strength
and i wanted to keep the factory curve of the edge.
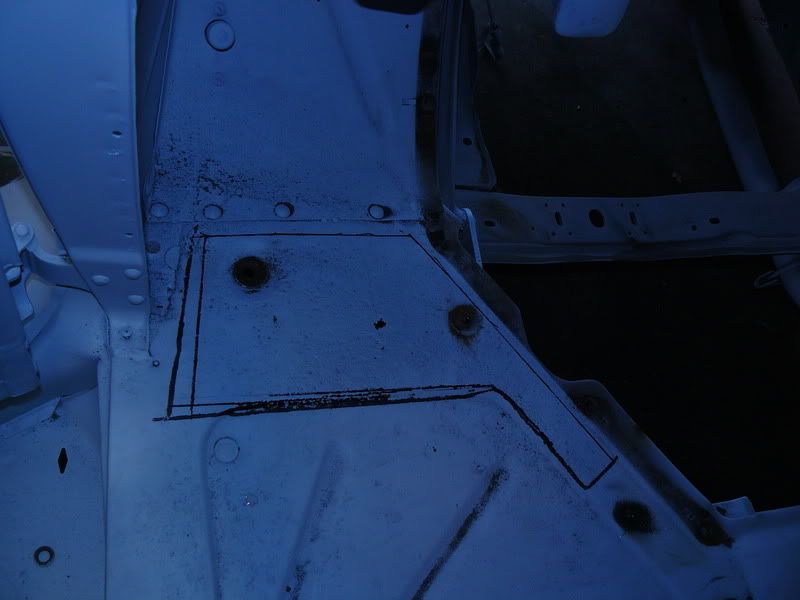
Looks like someone wasn't too sure of themselves before
the cut. Hey wait, that someone is me!
the cut. Hey wait, that someone is me!
My first thoughts were... "how and the hell am I gonna fix that!?!?"
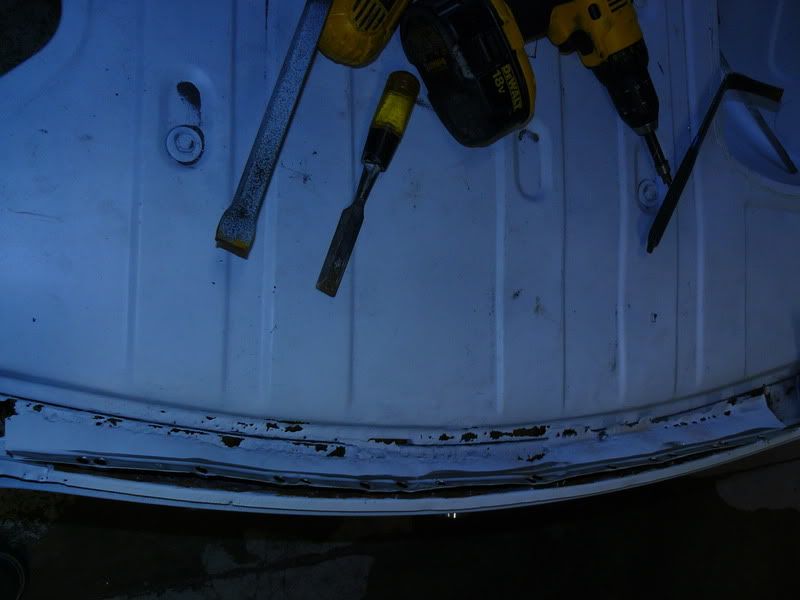
These floors were a breeze luckily but the time saved here made
up for a loss of time on some of the harder stuff. In the end it
all works out and the customer gets an affordable yet quality
rust repair...at Lugo's Parts and Restoration...of course!
up for a loss of time on some of the harder stuff. In the end it
all works out and the customer gets an affordable yet quality
rust repair...at Lugo's Parts and Restoration...of course!
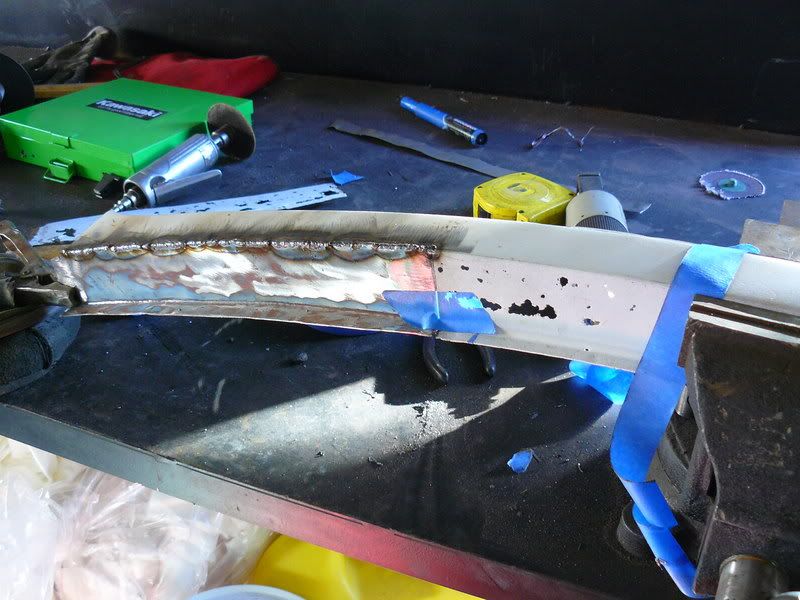
These were a pain to fab and line up for welding but overall
they turned out decent.
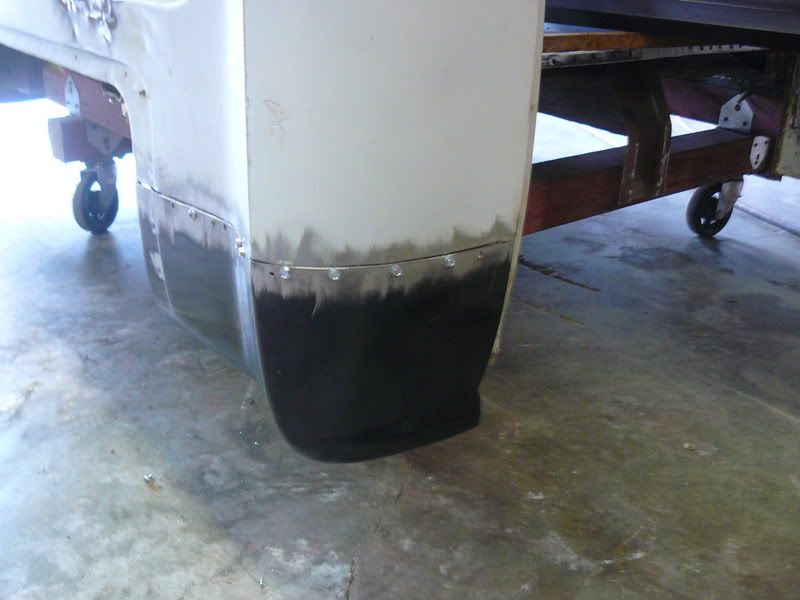
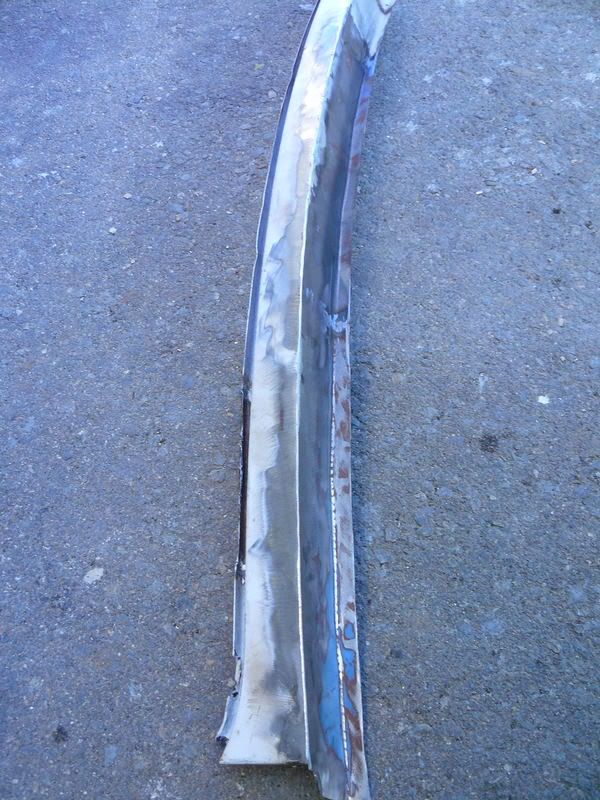
My plan for this was to knock it out in two pieces due
to limitations with compound curves and the metal working
tools we have, which consists of hammers, sand bags, a vise,
and an imagination.
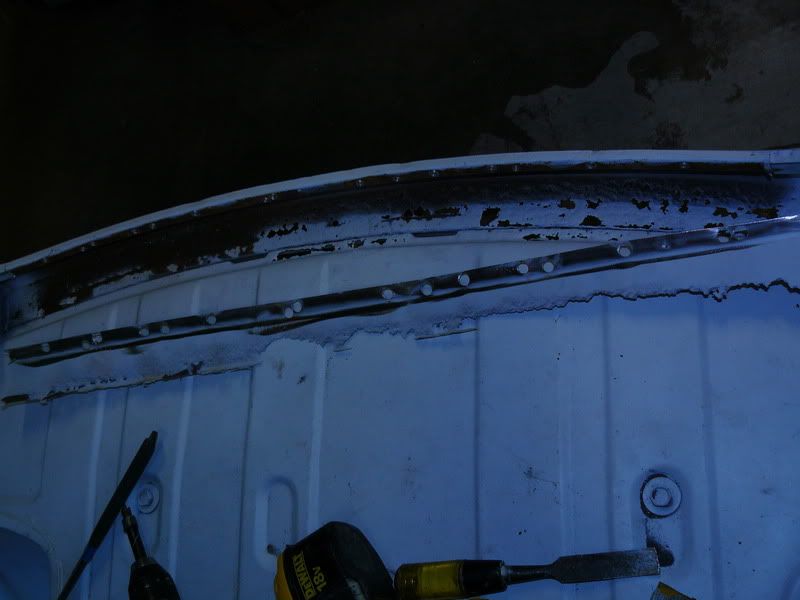
There's also a few patches on the decklid lip. A lot of work
for such a small panel.
I didn't take the best approach to this and in hindsight
I should have waited til I made my tuck shrinking tool
to form the patch where the compound curve is. Still
a solid open butt weld...ok I lied, The patch is flanged on
one side but tucks into the rail
This little snot is trying to stop the flow of things!
Atta boy!
Even had to fab up that stupid little brace!
Another area where I wish I had my tuck shrinker,
yet it turned out just fine.
Time for bodywork! Loosen up those shoulders!
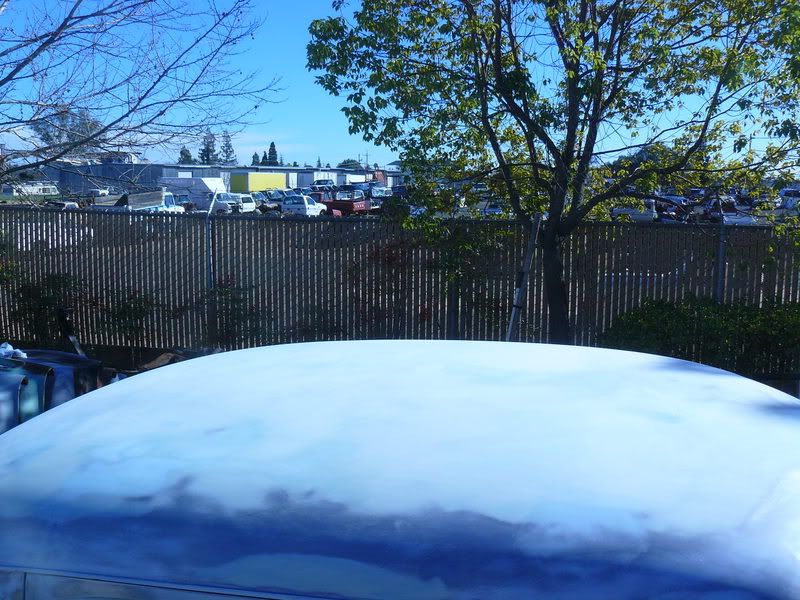
This roof required a lot of metal work which included, using
plastic hammers and sandbags, planishing, shrinking, and
waging a battle for the right flex. Getting the flex now will
not only give the arch more rigidity, it will also be making it
easier to block and that's a huuuuge roof!
TO BE CONTINUED...
Subscribe to:
Comments (Atom)
